SCAD Atlanta Illustration Dept. had a wonderful opportunity on Wed. Feb 17th with Illustrator turned fine artist
Brian Despain. His Agent, Kirsten Anderson, of the owner and curator of
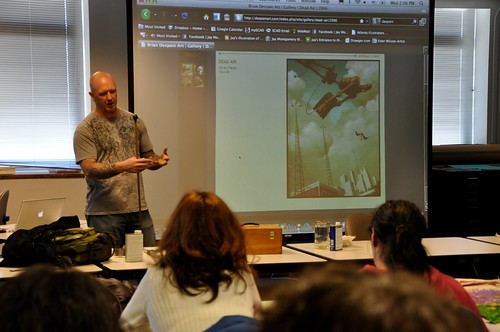
Roq La Rue gallery in Seattle was scheduled for a lecture at SCAD on Feb 18th at 6pm behind the hub. Professors Mike Brown and Kenneth Knowles were working with Kirsten for the painting Dept. Brian was driving up from Florida (where he was staying) to meet with her at SCAD for some business. So we got lucky to have such an amazing talent or as his Dad would say "the best thing since sliced bread" to come a do a lecture and demo for the Illustration Dept. It was a great collaboration with the Painting and Illustration Departments that should happen more often. There was a pretty descent turn out with students and faculty. Thanks for all that showed up.

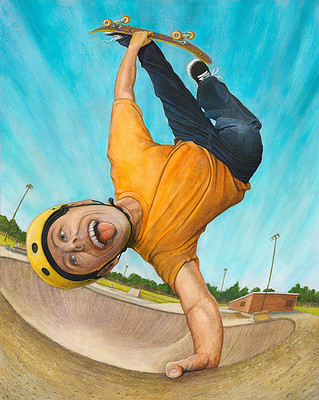
Brian was a wonderful speaker and a self admitted artist that likes to be in complete control of not only his paintings subject matter, but every step in his image creation process. Coming from a commercial art background doing a wide variety of graphic design jobs, photo-retouching, video game 3D Modeler, but never really a full-time freelance illustrator. Now for the past few years he has really hit the gallery scene with his stormy clouds, robots, fish, numbers and other elements that captivate the viewers attention much longer than the typical quick read illustration. He talked extensively about his philosophy of art and the connection with the viewer.
He had prepared a painting to start that was due in a month for a gallery show that his agent, Kirsten, was presenting. He starts with an idea, refines it with pencil, scans it in and in Photoshop and Painter he does a really tight color study while still working on fixing details, proportions and angles. This goes pretty quick with digital tools to take about 3 hours or so. Most of his work as relatively small , but he can but a ton a detail in the piece even at 8" x 10" or 11" x 14". The piece he was working on was 11" x 14". He "glues" a tight line drawing print to a sturdy hardboard. He does this first by sealing absorbent board with matte medium, sanding it smooth. Then he brushes on a layer of matte medium on the board and the back of the print which is on 3 ply bristol. He positions the bristol paper that is slightly larger than the board. Cuts off the excess paper. Then brushes it down and seals the bristol with about 5-6 thin coats (sanding in between dried layers) on top of the drawing. The results is a sealed smooth surface to paint on. He then prints out an color and black and white version of the color study.

Painting in oils, Brian has a developed a very controlled and meticulous process that works very well for him. I certainly can't cover every aspect of his detailed painting process, but here is an overview from what I gathered. Feel free to further discuss this in the comments.
He uses the old masters technique of
grisaille, which is basically starting with only gray tones of all the details of the painting then colorizing it with several thin layers of color on top of the dried grisaille. His gray color is a 1 to 1 mix of Ultramarine Blue (I think) and Burnt Sienna which produces a neutral gray. He has a special mix of his own oil medium which is three parts linseed oil, two to three parts stand oil and one or two parts
oil of spike lavender. He likes the strength and elasticity of the stand oil but it’s too thick to use on its own, and the oil of spike is used as a diluent to speed drying time. Brian uses the oil of spike instead of say, turp as a diluent as it’s not as toxic though it is quite expensive. On his glass palette he adds his medium to the paint with a water dropper controlling the amount mixed in. With a palette knife he mixes then medium into both colors then mixes then together to create a neutral black. Then with white he mixes 4-5 grey tones on his palette.
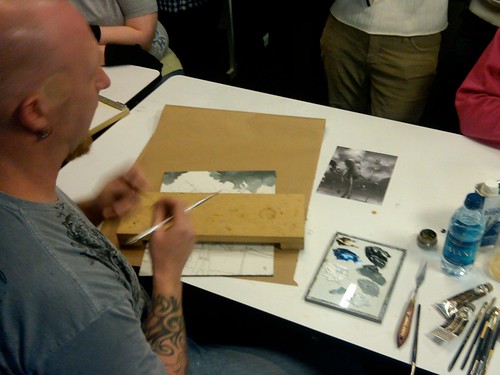
Then finally with cheap small fine haired flats, filberts, and round brushes he starts from the top down rendering the whole painting precisely in grey tones. His layers are very thin to increase the dry time but still stays workable on the board for the length of the painting session. Once the grisaille is dry he starts in with the color.

Brain uses a palette of 11 oil colors that he exclusively uses on all his paintings. He developed a set of
color mixing charts showing how all the color interact with each other and by adding white in varying value ranges. He refers to this constantly during the coloring painting stage. His favorite brand of oil paint is
Rembrant and some
Daniel Smith. To colorize the grisaille he uses a bit more of the same medium without thinners for a glaze showing the tone underneath the color. A painting this size would take him about 2-3 days do to after all the prep work is done working full days and drying the painting overnight.
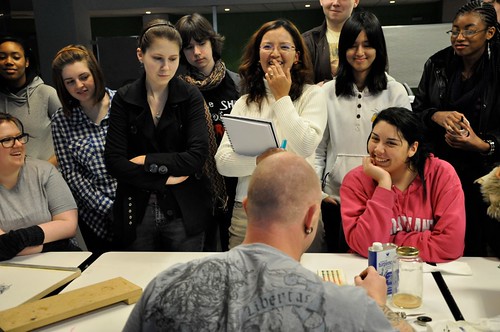
It was a real treat not only for the students, but the professors as well to see and hear about his philosophy of art and method of his madness and "pro tips". I know I was thoroughly enlightened! Thank you Brian for a fantastic and well-received lecture/demo. It was more than we all expected. You are welcome at SCAD anytime!